







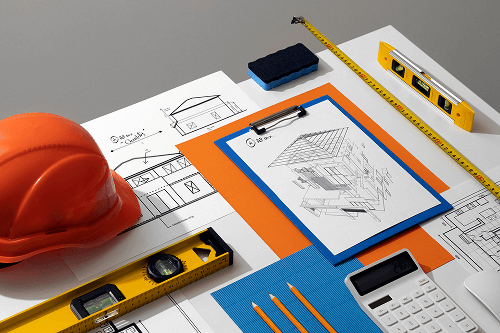


Masonry walls are built to last. However, decades of durability can unravel from a handful of decisions made at the drafting table. Water intrusion, thermal bridging, cracking and trapped moisture rarely trace back to the crew on the scaffold. More often, the failure starts in the drawings: a missing flashing detail, an incompatible material spec, a drainage plane that works in theory but fails in a rainstorm.
The mistakes covered here are common, consequential and, once you know what to look for, entirely preventable.
1. Improper Through-Wall Flashing Details
Flashing is one of the most important moisture-control components in a masonry wall assembly. When flashing details are incomplete or poorly coordinated, water intrusion becomes almost inevitable.
Why Flashing Failures Happen
Masonry materials naturally absorb moisture. Brick, block, mortar and concrete all allow some level of water penetration during rain exposure. That’s why cavity wall systems are designed to collect and redirect water safely out of the wall assembly.
Problems occur when flashing:
- Stops short of critical transitions
- Lacks proper end dams
- Includes unsealed laps
- Is incompatible with surrounding materials
- Is difficult to install correctly in the field
These issues are especially common around:
- Shelf angles
- Window openings
- Door penetrations
- Base-of-wall conditions
- Roof-to-wall intersections
Even small gaps in flashing continuity can allow moisture to bypass the drainage plane and enter interior spaces.
How to Fix It
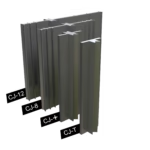
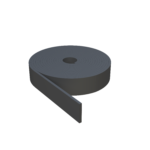
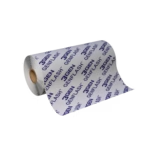
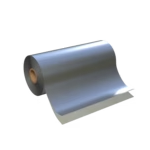
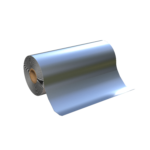
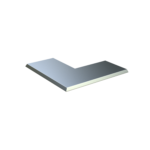
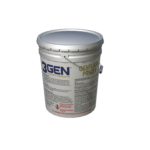
A better approach is specifying a flashing system designed for masonry cavity wall applications. GENFLASH® provides flexible flashing solutions that help improve moisture management while simplifying installation across multiple substrates.
Proper flashing details should include:
- Fully sealed laps
- Positive drainage slopes
- Termination bars
- Properly integrated end dams
- Continuity with adjacent air and water barriers
The goal is to create a continuous moisture-management system that directs water out of the wall before damage occurs.
2. Blocked Weep Systems and Poor Cavity Drainage
Even properly installed flashing can’t perform effectively if water becomes trapped inside the wall cavity.
The Problem With Mortar Droppings
One of the most common masonry detailing issues involves mortar accumulation that blocks drainage pathways at the base of the wall.
As masonry construction progresses, excess mortar often falls into the cavity behind the veneer. Without proper cavity management, this buildup can obstruct weep holes and prevent moisture from draining properly.
Over time, trapped moisture can contribute to:
- Efflorescence
- Mold growth
- Freeze-thaw deterioration
- Corrosion of embedded metals
- Interior leaks
Many wall sections appear functional on paper but fail to account for actual jobsite conditions where mortar buildup is unavoidable.
How to Fix It
Drainage systems should be designed with real-world installation conditions in mind.
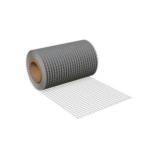
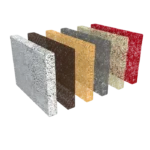
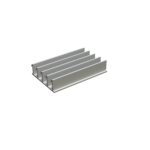
Products like Mortar Clear™ help maintain open drainage pathways within masonry cavities by reducing mortar blockage above flashing systems.
Effective cavity drainage details should also include:
- Proper air space dimensions
- Continuous drainage pathways
- Clearly located weep vents
- Compatible flashing transitions
- Adequate ventilation within the cavity
When water can exit the assembly efficiently, the wall system performs the way it was designed to.
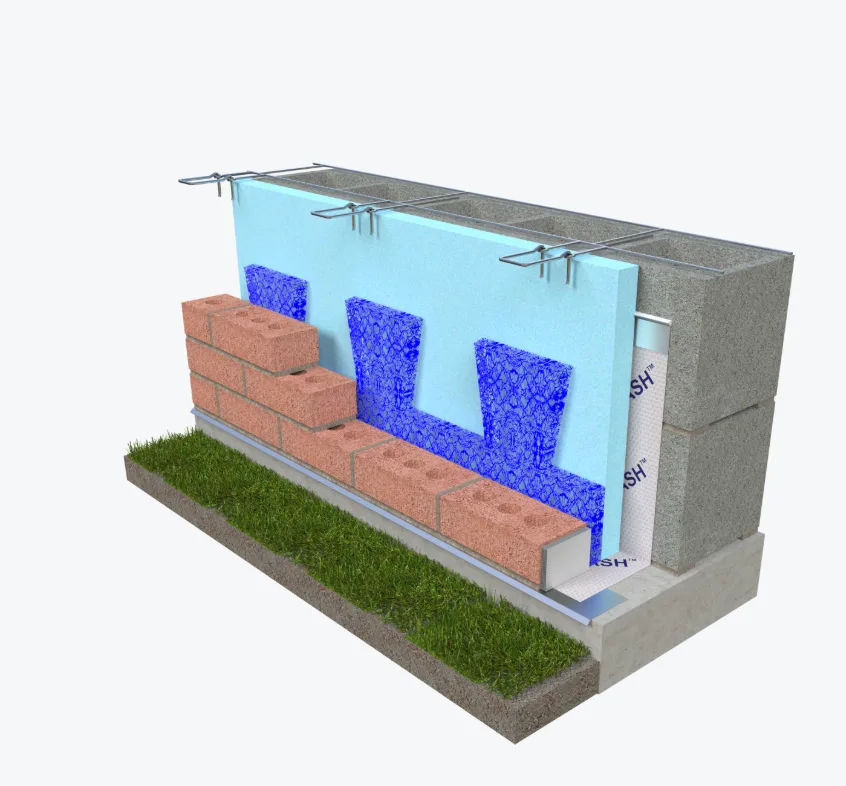
3. Ignoring Thermal Bridging in Wall Assemblies
As energy-performance requirements continue to increase, thermal bridging has become a growing concern in masonry wall design.
Why Thermal Bridging Matters
Metal wall components can create direct conductive pathways through a wall assembly, while anchors, reinforcement and attachment systems can transfer heat and cold through otherwise insulated sections.
While individual penetrations may seem minor, repeated thermal bridges throughout the facade can measurably reduce overall wall performance.
This can lead to:
- Increased energy loss
- Interior condensation
- Reduced occupant comfort
- Moisture-related wall damage
Thermal bridging problems are often invisible during construction but become much more noticeable after occupancy.
How to Fix It
Improving thermal performance starts with careful coordination between structural and insulation systems.
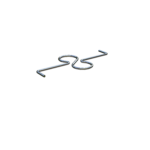
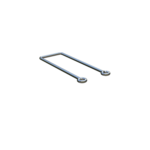
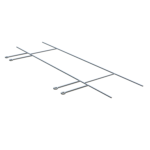
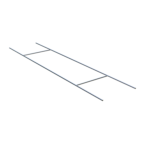
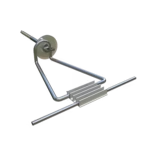
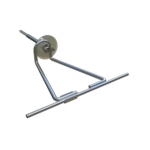
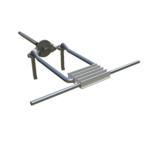
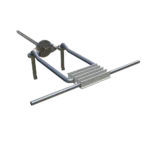
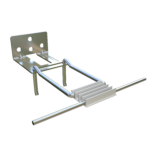
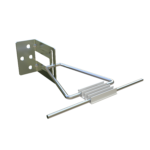
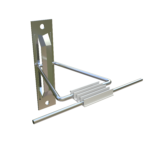
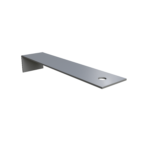
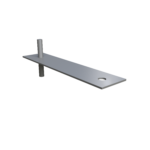
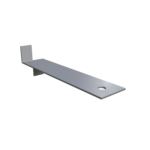
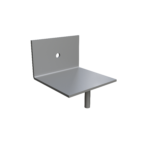
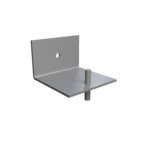
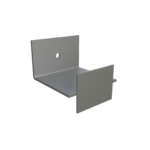
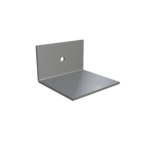
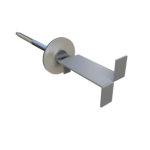
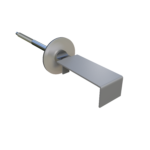
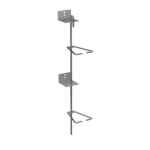
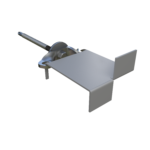
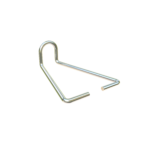
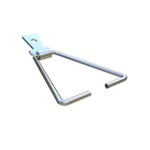
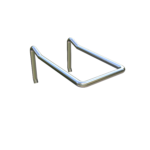
THERM-A-BREAK™ is designed to help reduce thermal transfer within masonry anchoring systems while supporting wall performance for years to come.
A few things worth coordinating early:
- Maintaining insulation continuity
- Minimizing unnecessary conductive penetrations
- Coordinating anchor placement carefully
- Evaluating condensation risk at transitions
- Reviewing thermal performance across the full wall assembly
Small thermal improvements can add up across a large facade.
4. Poor Movement Joint Placement
Masonry materials constantly expand and contract due to temperature changes, moisture exposure and structural movement. Without properly designed movement joints, cracking becomes much more likely.
Common Movement Joint Mistakes
One of the biggest problems in masonry detailing is treating movement joints as an afterthought.
Common issues include:
- Joint spacing that’s too wide
- Missing joints at stress concentrations
- Poor alignment with openings
- Inconsistent joint placement
- Failure to coordinate movement between materials
When movement can’t be accommodated naturally, stress builds within the wall system until cracking occurs.
How to Fix It
Movement joints should be integrated early in the design process rather than added later for appearance alone.
Proper joint placement depends on:
- Wall length and height
- Material type
- Exposure conditions
- Structural movement
- Opening locations
- Differential movement between assemblies
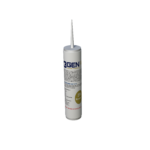
Expansion joint materials and sealant systems should also be selected for flexibility and weather resistance that lasts for years.
When movement joints are properly detailed, they help preserve both the structural integrity and visual appearance of the wall system as the building ages.
5. Incomplete Transitions Between Wall Components
Many masonry failures happen at transitions rather than within the field of the wall itself.
Where Transitions Often Fail
Roof intersections, parapets, windows, shelf angles and material changes all require multiple building systems to work together.
Problems occur when:
- Air barriers stop short
- Flashing systems are interrupted
- Insulation continuity is lost
- Drainage pathways become disconnected
- Multiple trades install overlapping systems without coordination
Even small discontinuities can create pathways for water or air infiltration.
How to Fix It
Successful masonry detailing requires treating the wall assembly as a complete system rather than a collection of isolated components.
Transitions should maintain continuity across:
- Flashing systems
- Air barriers
- Vapor management layers
- Thermal insulation
- Drainage pathways
Prefabricated accessories, compatible sealants, termination bars and properly coordinated transition details can all help reduce field installation errors while improving wall performance.
The most reliable wall systems are often the ones designed to simplify installation rather than complicate it.
Preventing Problems Before Construction Begins
The best time to solve a masonry problem is before the first brick is laid. Moisture management, thermal control, movement accommodation and system continuity don’t happen by accident. They’re the result of deliberate detailing decisions made early, when changes cost nothing and options are still open.
Get those decisions right, and the wall performs. Get them wrong, and no amount of remediation fully undoes it.
Products like GENFLASH®, Mortar Clear™ and THERM-A-BREAK™ are built for exactly these challenges by improving drainage, cutting thermal transfer and keeping the assembly continuous from foundation to parapet.
Ready to detail it right the first time? Visit 3GEN Masonry Products.