













Water stains creeping across an interior wall. A musty smell that won’t go away. Mortar that’s crumbling faster than it should. These are the telltale signs of moisture trapped behind brick veneer. In regions prone to heavy or wind-blown rain, they’re more common than most homeowners realize.
Brick veneer offers an attractive exterior and durable protection, but it isn’t a solid barrier against water on its own. It relies on a properly designed cavity wall system (flashing, weep holes, an air gap and drainage) to move moisture out before it causes damage. When any part of that system is installed incorrectly or neglected over time, water intrusion, mold growth and costly repairs can follow.
Below, we walk through how moisture accumulates behind brick veneer, the key components that keep cavity walls dry and the maintenance steps that protect your home’s structure and value for the long term.
How Brick Veneer Manages Moisture
Brick veneer is a non-structural outer layer attached to a building’s framing or foundation wall. Unlike solid masonry walls, brick veneer relies on a cavity drainage system — a gap between the brick and the sheathing or insulation — to manage moisture. Water that penetrates through mortar joints, head joints or hairline cracks in the brick is expected; the cavity gives it a path to drain down and exit safely through weep holes at the base of the wall, rather than pooling inside.
This system only works if that path stays clear. If debris, mortar droppings or damaged flashing block the drainage path (or if weep holes are missing or clogged), moisture has nowhere to go. It accumulates inside the wall, leading to mold growth, mildew, wood rot and deterioration of insulation and interior finishes.
Step 1: Begin with Sound Brick Veneer Construction
Moisture prevention starts at the foundation of every project. Your key considerations should include:
- Cavity Size and Design: Maintain a cavity of 1 to 2 inches between the brick veneer and the structural wall. This space allows water to flow downward and exit through weep holes.
- Water-Resistant Barriers: Install continuous water-resistant barriers behind the brick veneer to prevent water ingress into the framing or insulation. These barriers should be vapor-permeable to allow moisture vapor to escape while blocking liquid water.
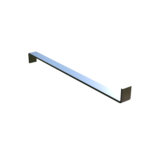
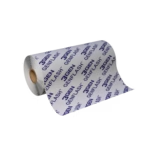
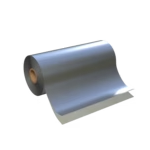
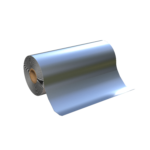
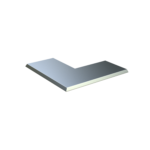
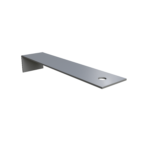
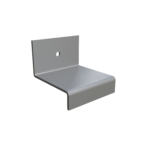
- Flashing Installation: Properly install through-wall flashing at critical points such as above windows, doors and the foundation wall. Flashing directs water away from the brick veneer, keeping your building structure secure.
- Weep Holes: Include weep holes at the bottom of the brick veneer. This provides drainage outlets for water collected inside the cavity.
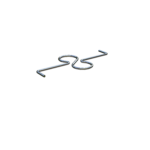
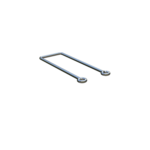
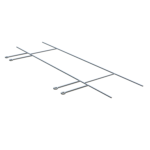
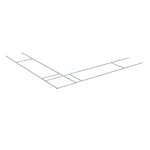
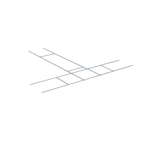
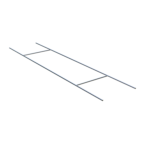
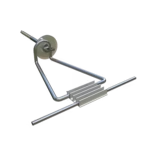
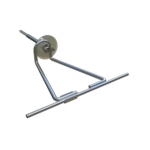
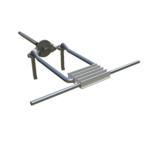
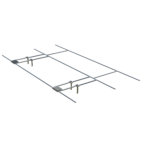
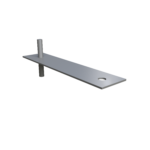
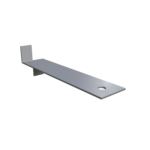
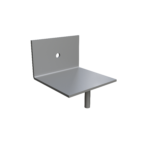
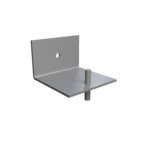
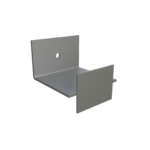
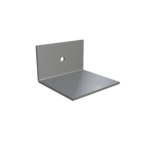
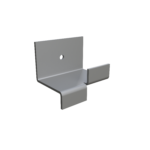
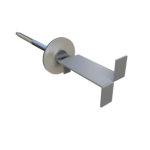
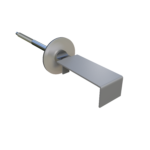
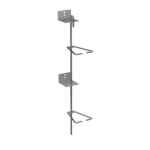
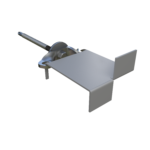
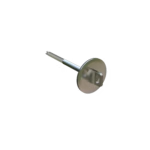
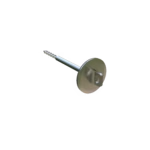
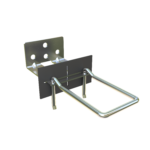
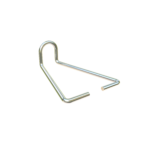
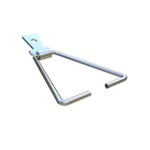
- Wall Ties and Anchors: Use corrosion-resistant wall ties to secure the brick veneer to the structural wall while maintaining the cavity. Wall ties also help prevent the brick wall from bowing or shifting, which can create cracks and allow water ingress.
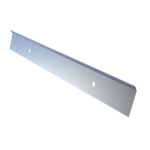
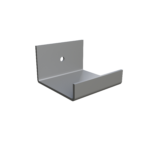
- Drip Edges: Install drip edges to shed water away from the brick foundation and prevent water from running back toward the wall cavity.
Step 2: Provide Effective Drainage and Ventilation
A well-designed cavity drainage system prevents water retention behind the brick veneer. To achieve this:
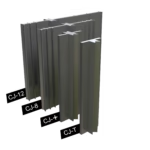
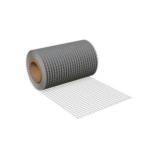
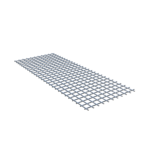
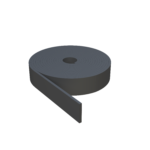
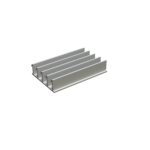
- Clear Drainage Paths: Keep the cavity free of mortar droppings, debris and soil that can block water flow. Products like mortar deflection mats or mesh can help suspend mortar droppings above flashing and weep holes.
- Routine Inspection: Perform routine checks on drainage points to ensure that they’re not blocked by debris or insect activity.
- Landscaping and Grading: Maintain proper site drainage so the grade slopes away from the brick foundation. Avoid piling soil or mulch against the veneer as trapped moisture against the wall increases the risk of water intrusion.
- Gutters and Downspouts: Ensure gutters and downspouts direct water away from the foundation and exterior walls. Properly functioning gutters prevent water from saturating the soil near the foundation and reduce water flow toward the brick veneer.
Step 3: Use Quality Materials and Sealants
The type of materials you use is just as critical as how you build the veneer system. Here are a few to keep in mind:
- Mortar Mix: Use mortar with appropriate moisture content and additives to reduce shrinkage and cracking. Excess moisture in mortar can create gaps and holes that allow water ingress.
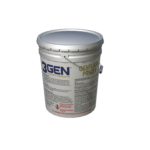
- Vapor-Permeable Water Repellent: Apply a breathable sealant or coating to mortar joints and brick surfaces. These products block liquid water from entering while still allowing trapped moisture vapor to escape outward, reducing the risk of water retention and mold growth.
Step 4: Perform Routine Inspections and Maintenance
Routine inspection and maintenance are vital for preventing long-term damage:
- Inspect brick veneer walls at least twice a year, especially after heavy rain or storms.
- Check for cracks in mortar joints, vertical joints and brick surfaces. Repair any damaged mortar with tuckpointing to restore the seal.
- Clean weep holes to maintain a clear drainage path.
- Examine flashing and drip edges for damage or improper installation.
- Assess gutters, downspouts and grading to ensure water is directed away from the foundation wall.
- Hire a professional mason or building inspector periodically to evaluate the brick veneer system and recommend repairs or improvements.
Step 5: Identify Early Signs of Moisture Intrusion
Early detection of moisture problems behind brick veneer walls can save homeowners from costly repairs. Watch for these warning signs:
- Efflorescence: White, powdery salt deposits on the exterior brick surface indicate moisture migration through the brick veneer.
- Discoloration and Warping: Interior walls or ceilings that show discoloration or warping can signal water leaks.
- Musty Odors: Persistent mold or mildew smells inside the home are a major sign of hidden moisture and mold growth.
- Visible Leaks: Water stains, hairline cracks or mold growth on interior drywall or insulation are signs of water intrusion.
- Blocked Weep Holes: Inspect exterior weep holes for blockages from mortar droppings, debris or insects.
Step 6: Address Moisture Issues Promptly
If moisture problems are detected:
- Identify the source of water intrusion, whether it’s mortar failure, blocked drainage, poor flashing or landscaping issues.
- Repair or replace damaged flashing, reseal mortar joints and clear drainage paths.
- Remove debris or soil buildup near the brick foundation.
- Consider installing additional drainage systems or ventilation if moisture retention persists.
- Dry out affected areas using professional moisture mitigation techniques to prevent mold and structural deterioration.
Protecting Your Brick Veneer for the Long Term
Preventing moisture damage comes down to getting the fundamentals right: sound cavity wall design, quality materials, effective drainage and routine maintenance. Following these steps helps protect your walls from water damage, mold growth and the costly repairs that come with neglect.
Catching problems early and staying ahead of them keeps your exterior durable and beautiful for years to come, while also protecting your home’s structure and comfort.
If you notice signs of trapped moisture or want a professional inspection, 3Gen Masonry Products can assess your walls and recommend the right materials for the job.