
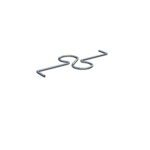
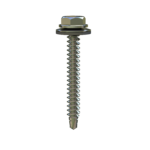
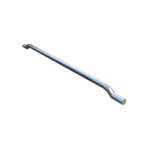
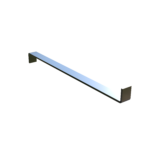
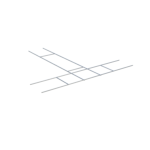
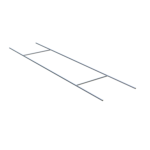
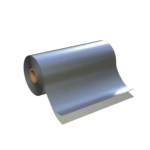
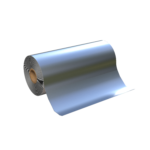
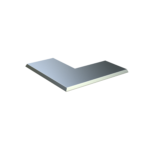
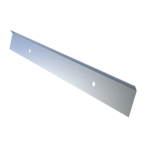

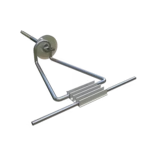
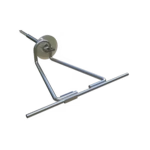
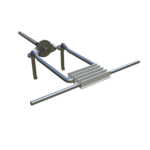
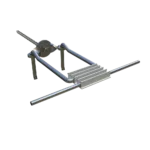
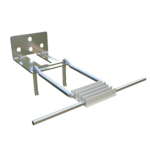
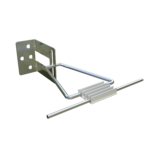
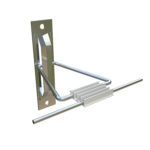
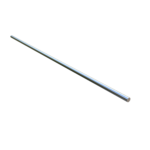
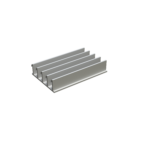
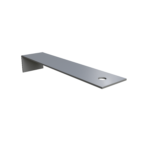
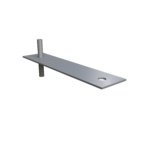
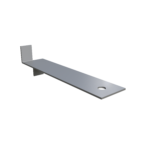

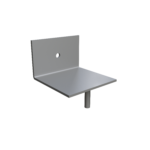

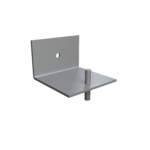

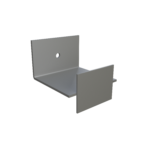
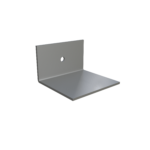
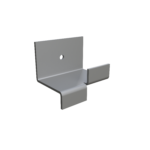
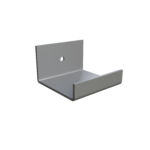
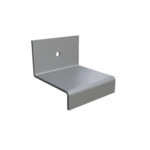
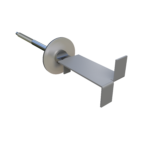
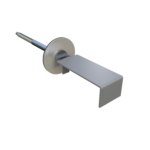
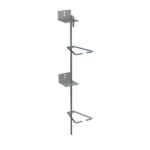
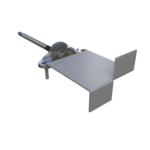

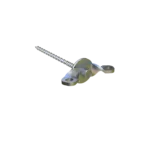
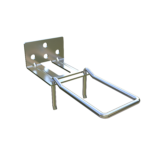
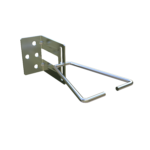
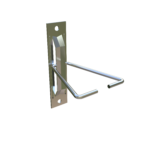
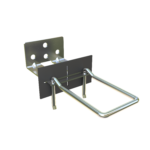


Termination bars are a small but critical detail in any roofing or waterproofing system. They mechanically fasten the top edge of a membrane to a wall or parapet and seal it against water intrusion. Without one, even a well-installed membrane can fail at its edges.
Knowing when and how to install termination bars correctly can be the difference between a roof that lasts decades and one that leaks within a few years.
What Are Termination Bars?
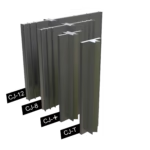
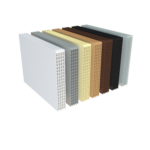
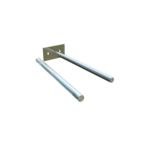
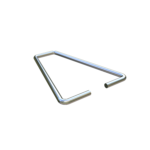
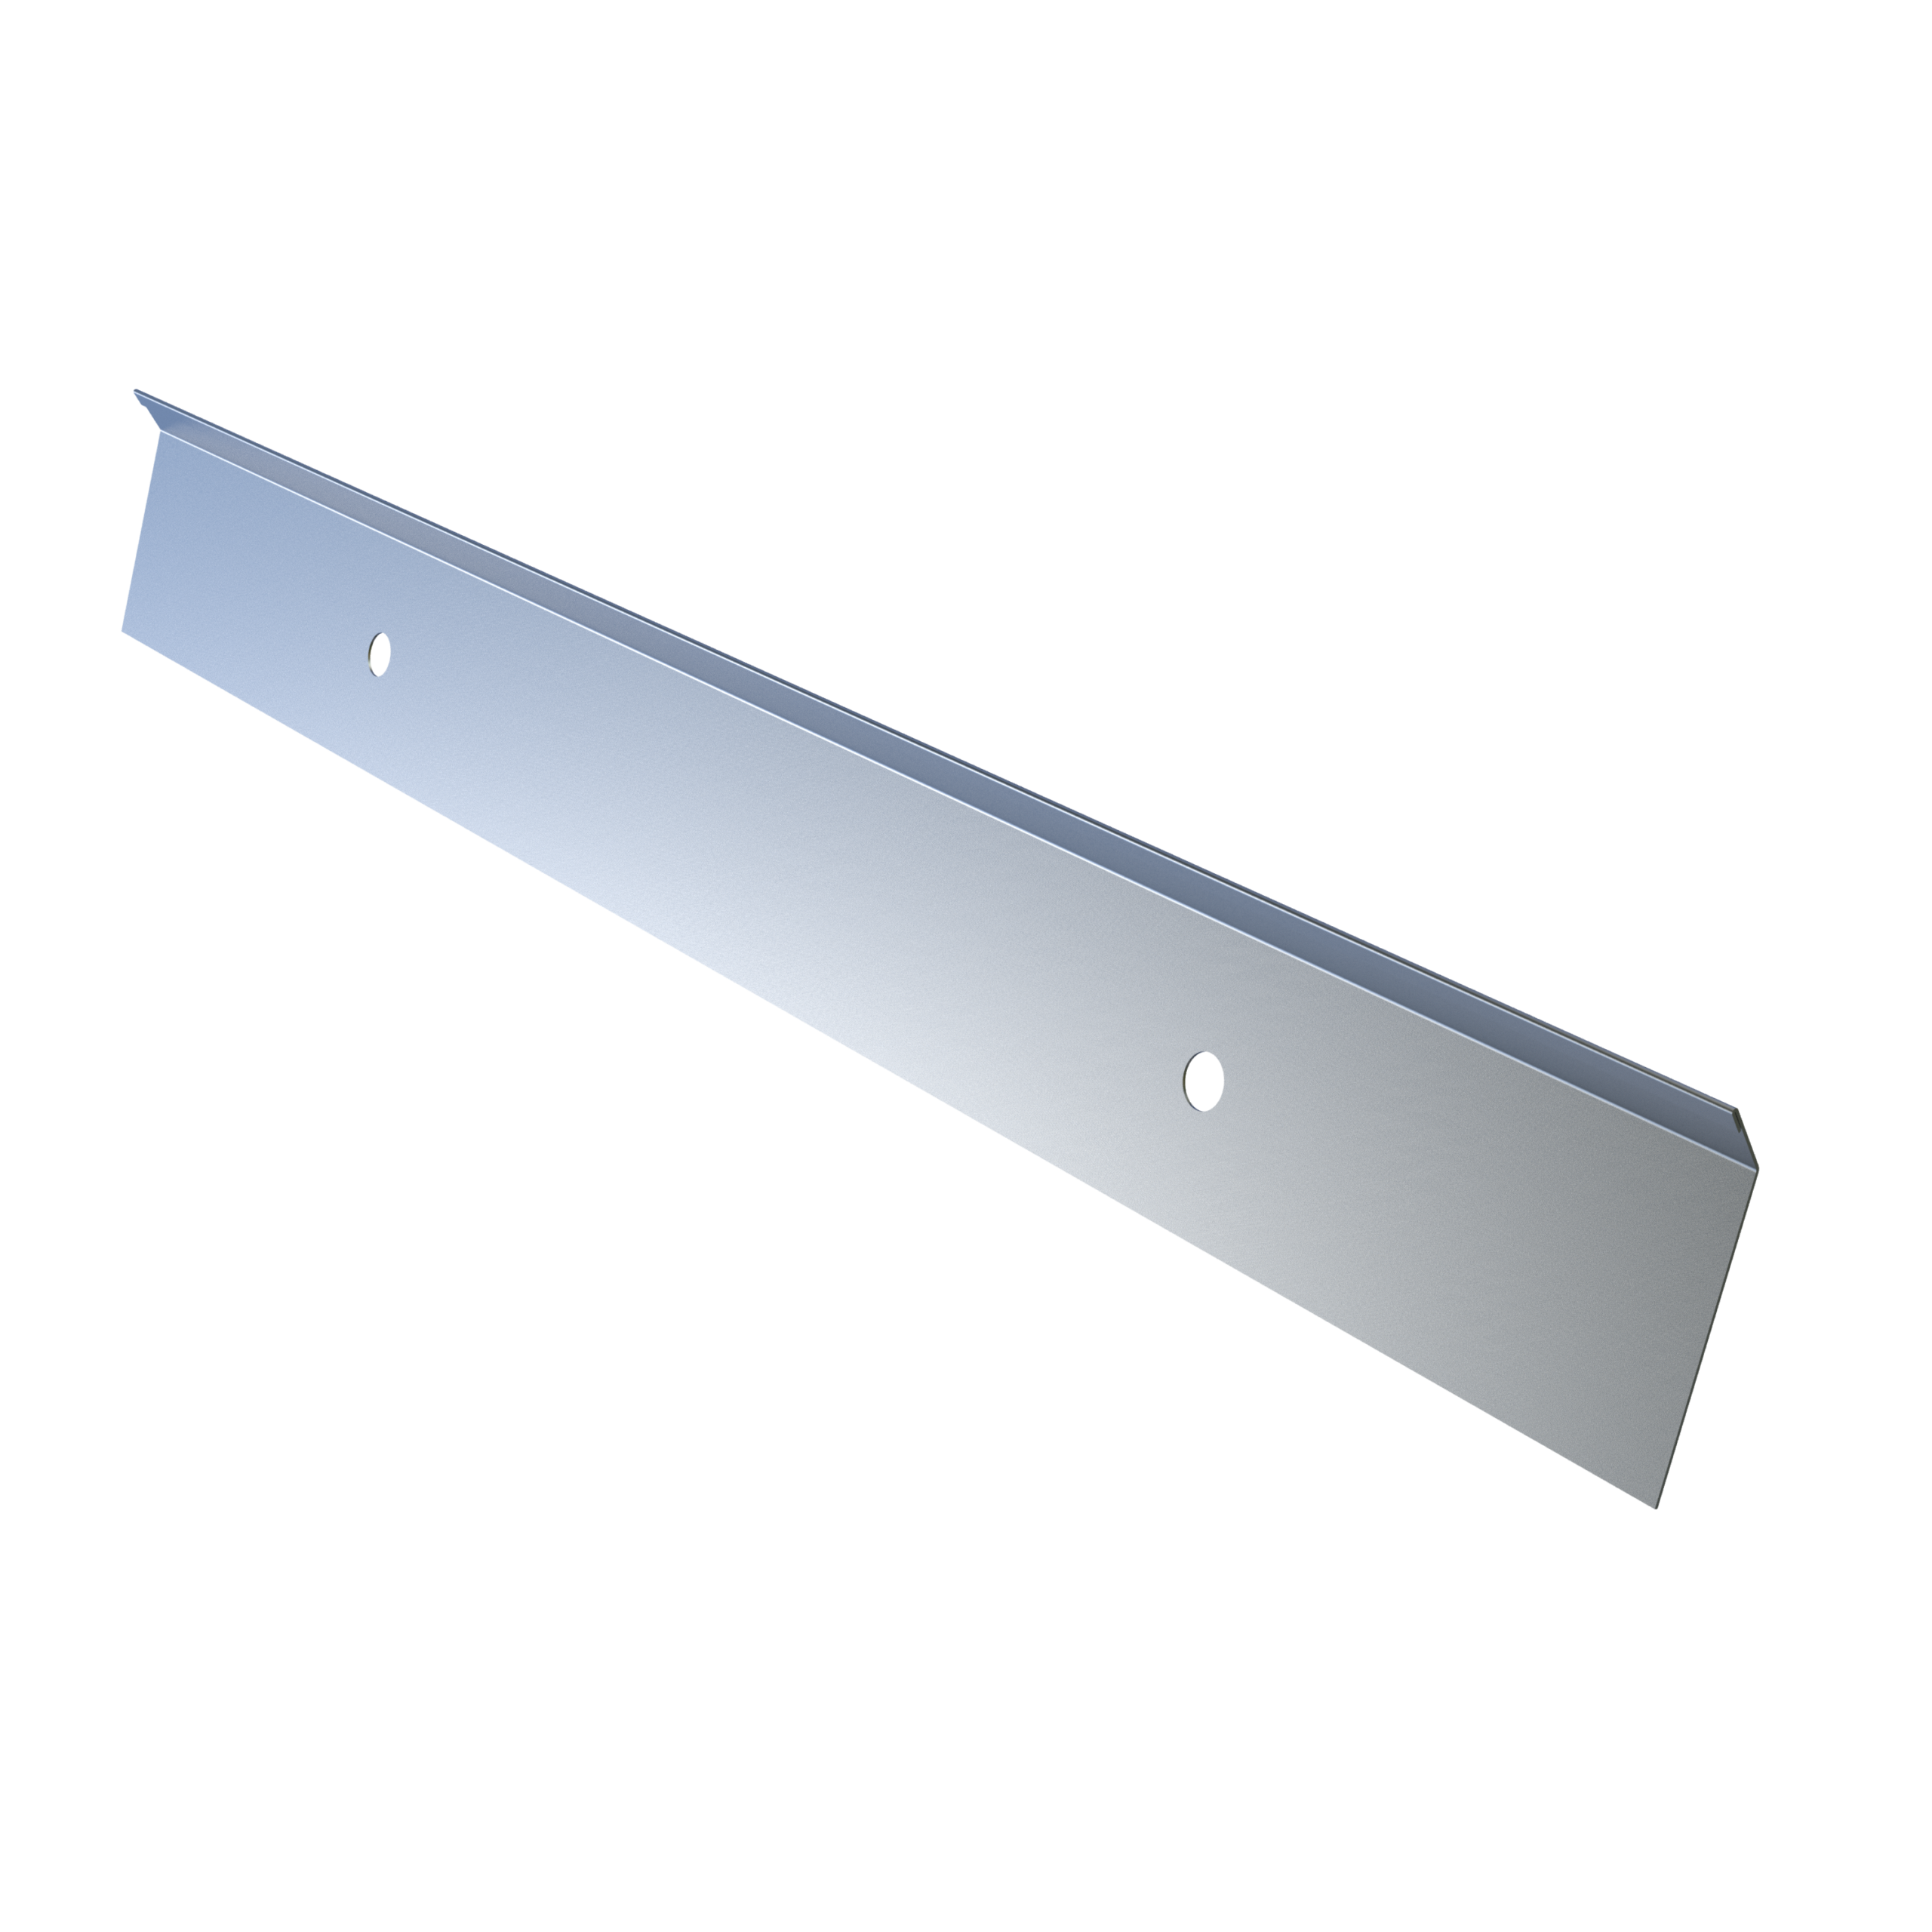
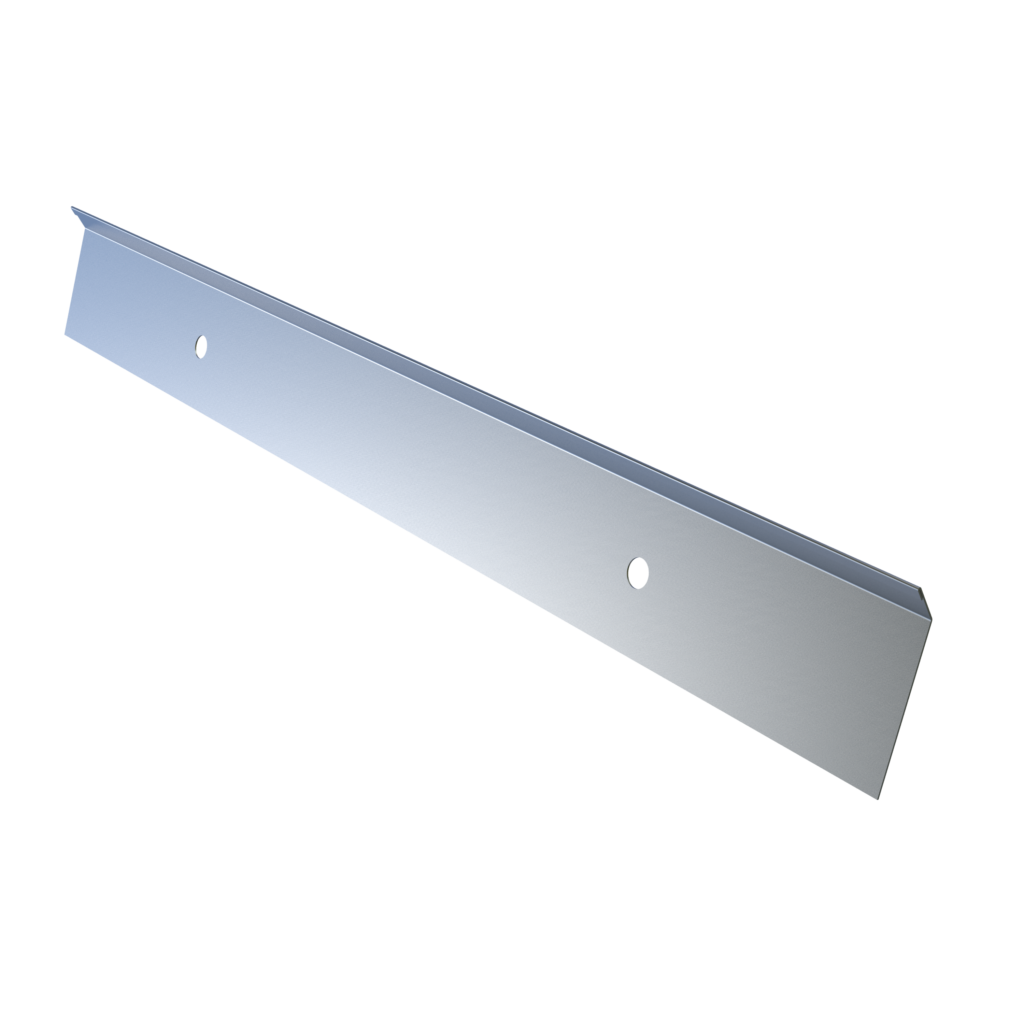
Termination bars are metal strips used to fasten the edges of roofing membranes, waterproofing materials or wall panels securely to the substrate. By anchoring these materials in place, they prevent common failure points like membrane slippage, wind uplift and water infiltration.
They’re typically made from aluminum or stainless steel for corrosion and weather resistance. Depending on the application, you’ll find different sizes, profiles and finishes. For example, standard surface-mounted termination bars are fastened directly to a wall, while reglet-style termination bars fit into a mortar joint or a cut reglet for a cleaner, more finished appearance.
Benefits Of Termination Bars
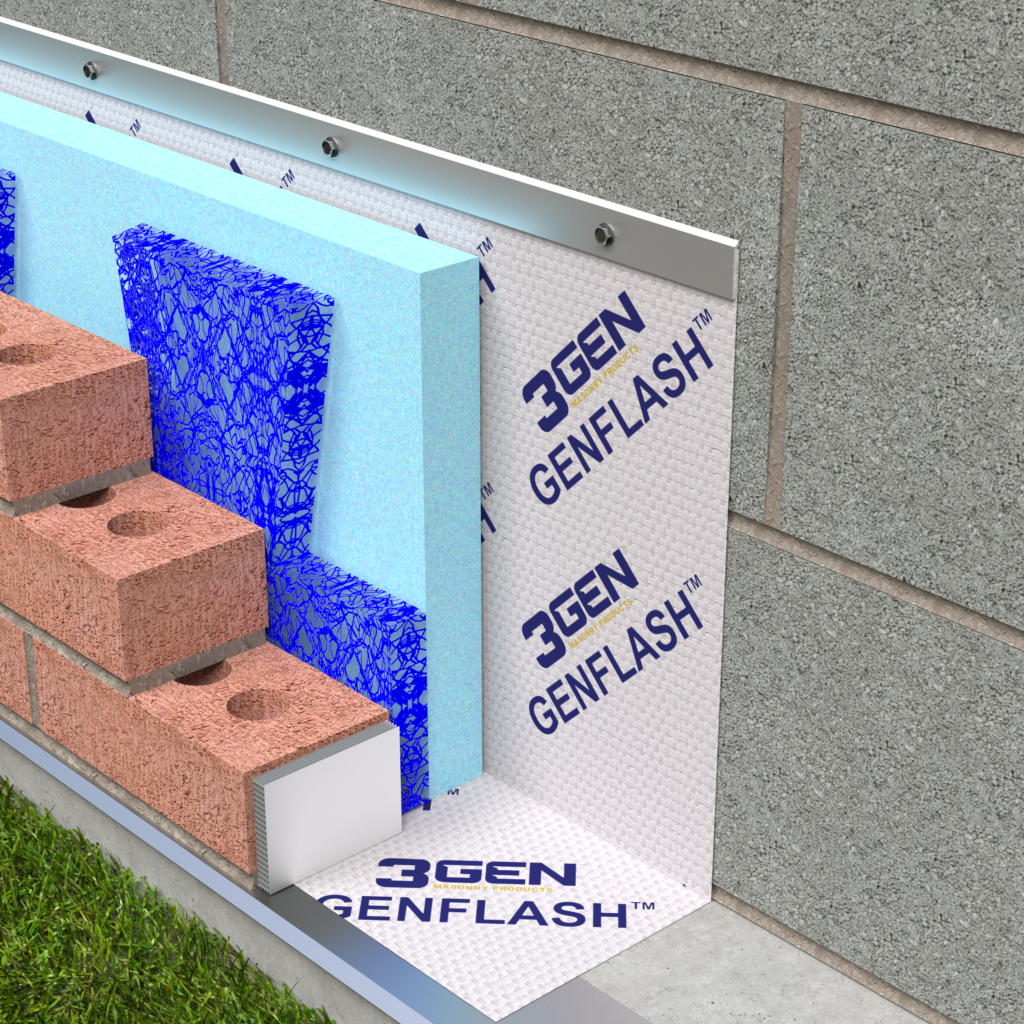
Beyond just holding materials in place, termination bars bring several real advantages to a roofing or cladding project:
- Durability: Mechanically fastening the edges prevents membrane slippage from gravity, thermal movement or wind, which means the roofing or cladding lasts longer before it needs attention.
- Moisture Protection: By anchoring membranes tightly at the edges, termination bars help maintain a continuous waterproof barrier, cutting down the risk of leaks, mold and structural rot.
- Wind Resistance: Properly installed, they significantly improve resistance to wind uplift, a major factor in storm-prone regions.
- Cleaner Appearance: They create a neat, consistent finish at edges and transitions, which improves the look of the whole roofing or wall system.
- Code and Warranty Compliance: Many building codes and manufacturer warranties require termination bars in specific assemblies, so skipping them can jeopardize compliance or void coverage.
- Fewer Costly Repairs: Because they keep membranes secure and seals intact, termination bars reduce the odds of expensive repairs or early roof replacement down the line.
Tools And Materials Needed For Termination Bar Installation
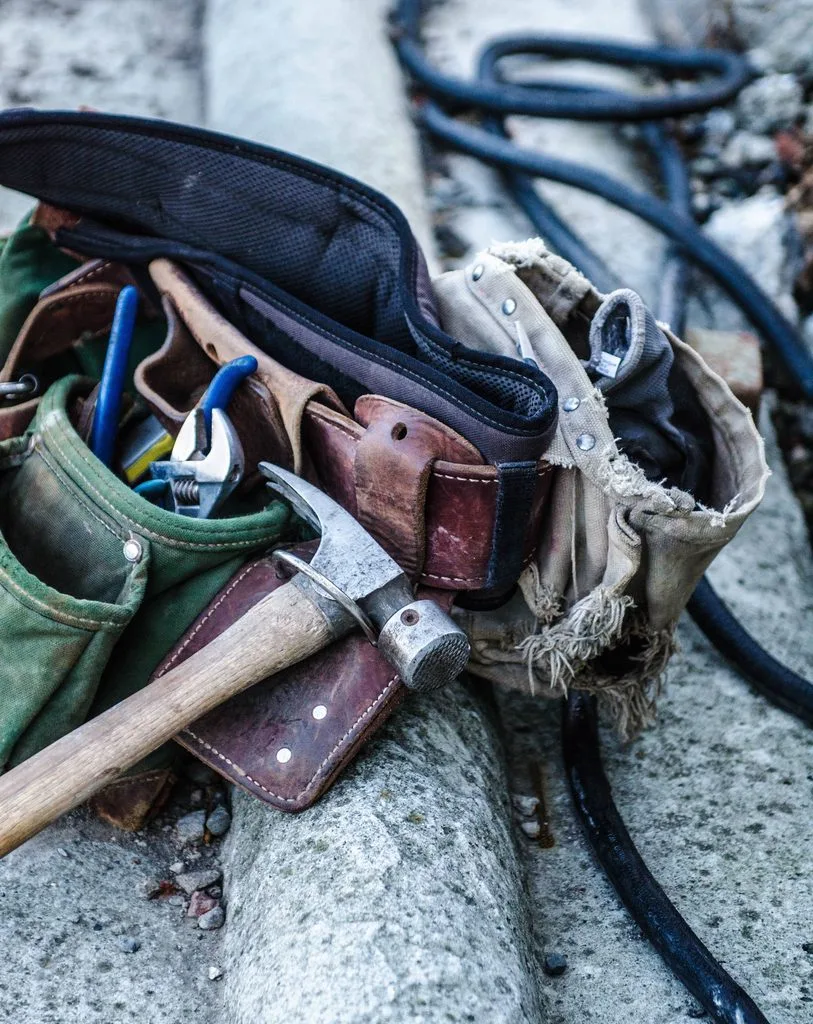
Before you begin installation, gather these materials so the process goes smoothly:
- Termination Bars: Select bars of the appropriate size, material and profile for your application. Aluminum termination bars with a drip edge profile are common for roof edges, while flat wall termination bars suit vertical applications.
- Fasteners: Choose screws, nails or anchors compatible with the substrate — wood, masonry or metal. Fasteners should be corrosion-resistant and sized according to manufacturer recommendations.
- Drill or Screwdriver: For driving fasteners securely.
- Hammer: May be needed for nails or to help position bars.
- Measuring Tape and Chalk Line: For accurate measurement and alignment of termination bars.
- Metal Snips or Saw: To cut termination bars to the required length.
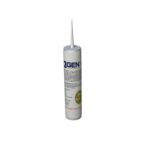
- Sealant or Caulk: Use manufacturer-approved sealant or silicone caulk to create watertight seals along edges and fasteners.
- Safety Equipment: Gloves, goggles and protective clothing to safely handle sharp edges.
Installing Termination Bars: Step-By-Step
Installing termination bars correctly is vital to achieving a secure and waterproof edge. Follow these detailed steps for the best results:
Prepare the Surface
Begin by thoroughly cleaning the substrate where the termination bar will be installed. Remove dirt, dust, moisture and any loose materials to ensure proper adhesion and fastening. For masonry walls, inspect for cracks or defects that might compromise the seal.
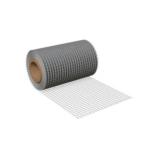
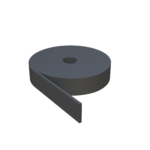
Apply Termination Tape or Water-Cutoff Mastic
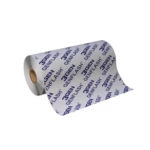
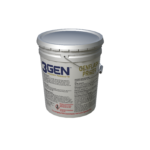
Apply a continuous bead of water-cutoff mastic or lay termination tape along the substrate edge where the bar will be placed. This creates a seal that prevents air and water from entering behind the membrane or bar, enhancing waterproofing.
Measure And Cut Termination Bars
Measure the length of the edge or wall where the termination bar will be installed. Use metal snips or a saw to cut the bar to the precise length, ensuring clean, straight cuts for a professional finish.
Position The Termination Bar
Align the termination bar over the membrane or panel edge, ensuring it overlaps slightly and presses firmly into the termination tape or mastic. For roof edges with drip edges, the bar’s angled profile should direct water away from the fascia to prevent water damage.
Fasten The Termination Bar
Each fastener should be evenly spaced, with 6” to 12” on center being the standard. However, this also depends on the building codes and the manufacturer’s specifications, so be sure to check. As always, when fastening into masonry walls, use the appropriate anchors or screws.
Seal The Edges And Fasteners
Apply a thin bead of silicone caulk or the manufacturer-recommended sealant along the top edge of the termination bar, right over the fastener heads. This step creates a watertight seal that prevents moisture intrusion.
Inspect And Adjust
Thoroughly inspect the new installation for any issues. Gaps, misalignments or even just loose fasteners can cause problems further down the line. If an issue is spotted, correct it immediately.
Special Considerations For Masonry Walls
When terminating a membrane on a masonry wall, cut a groove (or reglet) into the masonry just above the termination bar. Form a piece of aluminum cap flashing to hook under the bar’s lip, insert the top edge into the groove and seal the groove with polyurethane caulk. This detail adds an extra layer of protection against water infiltration at one of the more vulnerable points in the system.
Common Mistakes To Avoid
To ensure a successful termination bar installation, avoid these frequent errors:
- Improper Fastener Selection: Using fasteners that are too short, non-corrosion-resistant, or incompatible with the substrate can lead to premature failure.
- Insufficient Fastener Spacing: Fasteners placed too far apart reduce the holding strength of the termination bar.
- Poor Surface Preparation: Installing bars over dirty, wet or uneven surfaces compromises adhesion and sealing.
- Neglecting Sealant Application: Skipping or inadequately applying sealant allows water to penetrate behind the termination bar.
- Incorrect Bar Placement: Misaligned bars can damage membranes, cause leaks or detract from the finished appearance.
- Failing to Allow for Expansion Gaps: Leaving no expansion gap between termination bars can cause buckling or membrane damage due to thermal movement.
Maintenance Tips For Termination Bars
Termination bars need periodic attention to keep doing their job over the life of the roof or wall system:
- Inspect Fasteners: Look for loose, corroded or missing fasteners and tighten or replace as needed.
- Examine Sealants: Check sealant beads for cracks, shrinkage or deterioration, and reapply where needed to maintain a watertight seal.
- Clean Debris: Clear away debris that can trap moisture and speed up corrosion.
- Repair Damage: Regularly check for bent, corroded or damaged termination bars and replace them promptly to prevent leaks.
Protecting Your Roofing System with Termination Bars
Termination bars play a small but essential role in keeping roofing membranes and wall panels secure, protecting against wind uplift, water infiltration and long-term structural damage. Choosing the right bar, installing it correctly and maintaining it over time is what keeps a building envelope watertight and in line with code and warranty requirements.
Whether you’re specifying termination bars for a new build or troubleshooting a leak-prone edge detail, 3Gen Masonry Solutions can help you get it right the first time. Contact us or call 1-800-556-5785 for expert guidance on your project.